How to Pet-Proof Your Record Collection
Using plexiglass and an IKEA shelf, you can protect your vinyl babies from your fur babies.
Have you ever spent a wallet’s worth of cash at the pet store, carefully hand-curating a batch of toys that you think your cat will love, only to have her reject them for the crinkled receipt? Of course you have! Despite having a beautiful scratching post all to herself, the cat is always going to ravage the corner of the couch when she’s compelled to unsheathe her claws. Or the coffee table. Or the mattress. You’re just the helpless human witnessing the path of her kitty destruction.
Until she goes after the record collection.
There’s something about the cardboard spines, the way they’re stacked ever-so neatly on the shelf, the air of preciousness that only floats over our prized possessions that dogs and cats alike can sense. It draws our pets to chew, bite, scratch, knead, slice, pee, etc. My cat recently dragged her claws across our Rolling Stones section.
 Evidence of the destruction. The Rolling Stones never stood a chance.
 So! There’s a few things you can do to pet-proof your records.
1. Place your records up high. It doesn’t really work for large collections, but if you have just a few, find a good slab of wood and shelve your records on the wall. Beware, though, cats are tricky and will see it as a challenge.
2. Drape a blanket over your vinyl. For an effective, yet gaudy, fix, lay a blanket over your crates or shelf. It’s not a pretty look, but it works temporarily.
3. Get a cabinet. It’s mega expensive, but if you’re serious about your stuff, it might be a chill investment. If you like showing off your collection, however, this will hide them away.
4. Find a new home for your cat or dog. Not happening.
There’s a way to keep your records on display while blocking animals from wreaking havoc over them: plexiglass. Plexi is a fairly simple way to protect your music library while staying on the inexpensive side—all you have to do is attach it to your shelf with velcro. Yes, velcro. Come with me as we DIY this!
What you’ll need:
- A shelf where you keep your records (I’m using the Kallax from IKEA, a vinyl lover’s favorite)
- Custom-cut plexiglass (0.125” thickness will work fine, while the rest of the dimensions depend on your shelf)
- Velcro strips (I used Command brand with 16 pound hold)
- Rubbing alcohol
- Cloth for wiping
First thing you’re gonna do is build that shelf that you just picked up from IKEA. If you already have a shelf, that’s cool too. We bought a new one because my boyfriend collects records faster than he can accumulate paychecks, and we just had a bunch of records lying around in crates, which my cat, Lily, loves to sleep on.
 Obviously, just follow the instructions and screw it all together.
 Next, let your pet get acquainted with the foreign object. Because it makes for a cute pic. Plus, she won’t be able to sleep in these shelves after we put the plexiglass on, so I let her have this small victory.
 Curious cat already plotting ways to ruin this new piece of furniture.
 Let’s talk about the plexiglass. Any major hardware store (and some craft stores) will have it in their glass aisle, and they’ll be able to custom cut the sheets for you for free. Plexi runs expensive, but it’s still cheaper than regular glass, and way cheaper than cabinets, extra doors or an entertainment center. I bought two sheets, and that set me back $44.
On an eight-pocket Kallax IKEA shelf, two plexiglass sheets (measured 30” x 27¼”) should each cover a four by four space—one on the top half and one on the bottom half. If you’re using a different shelf, just make sure you go to the hardware store with the height and width of your shelf and get plexiglass cut to those dimensions.
When you get home, peel back the film on those bad boys.
 It was strangely satisfying to peel the plastic off.
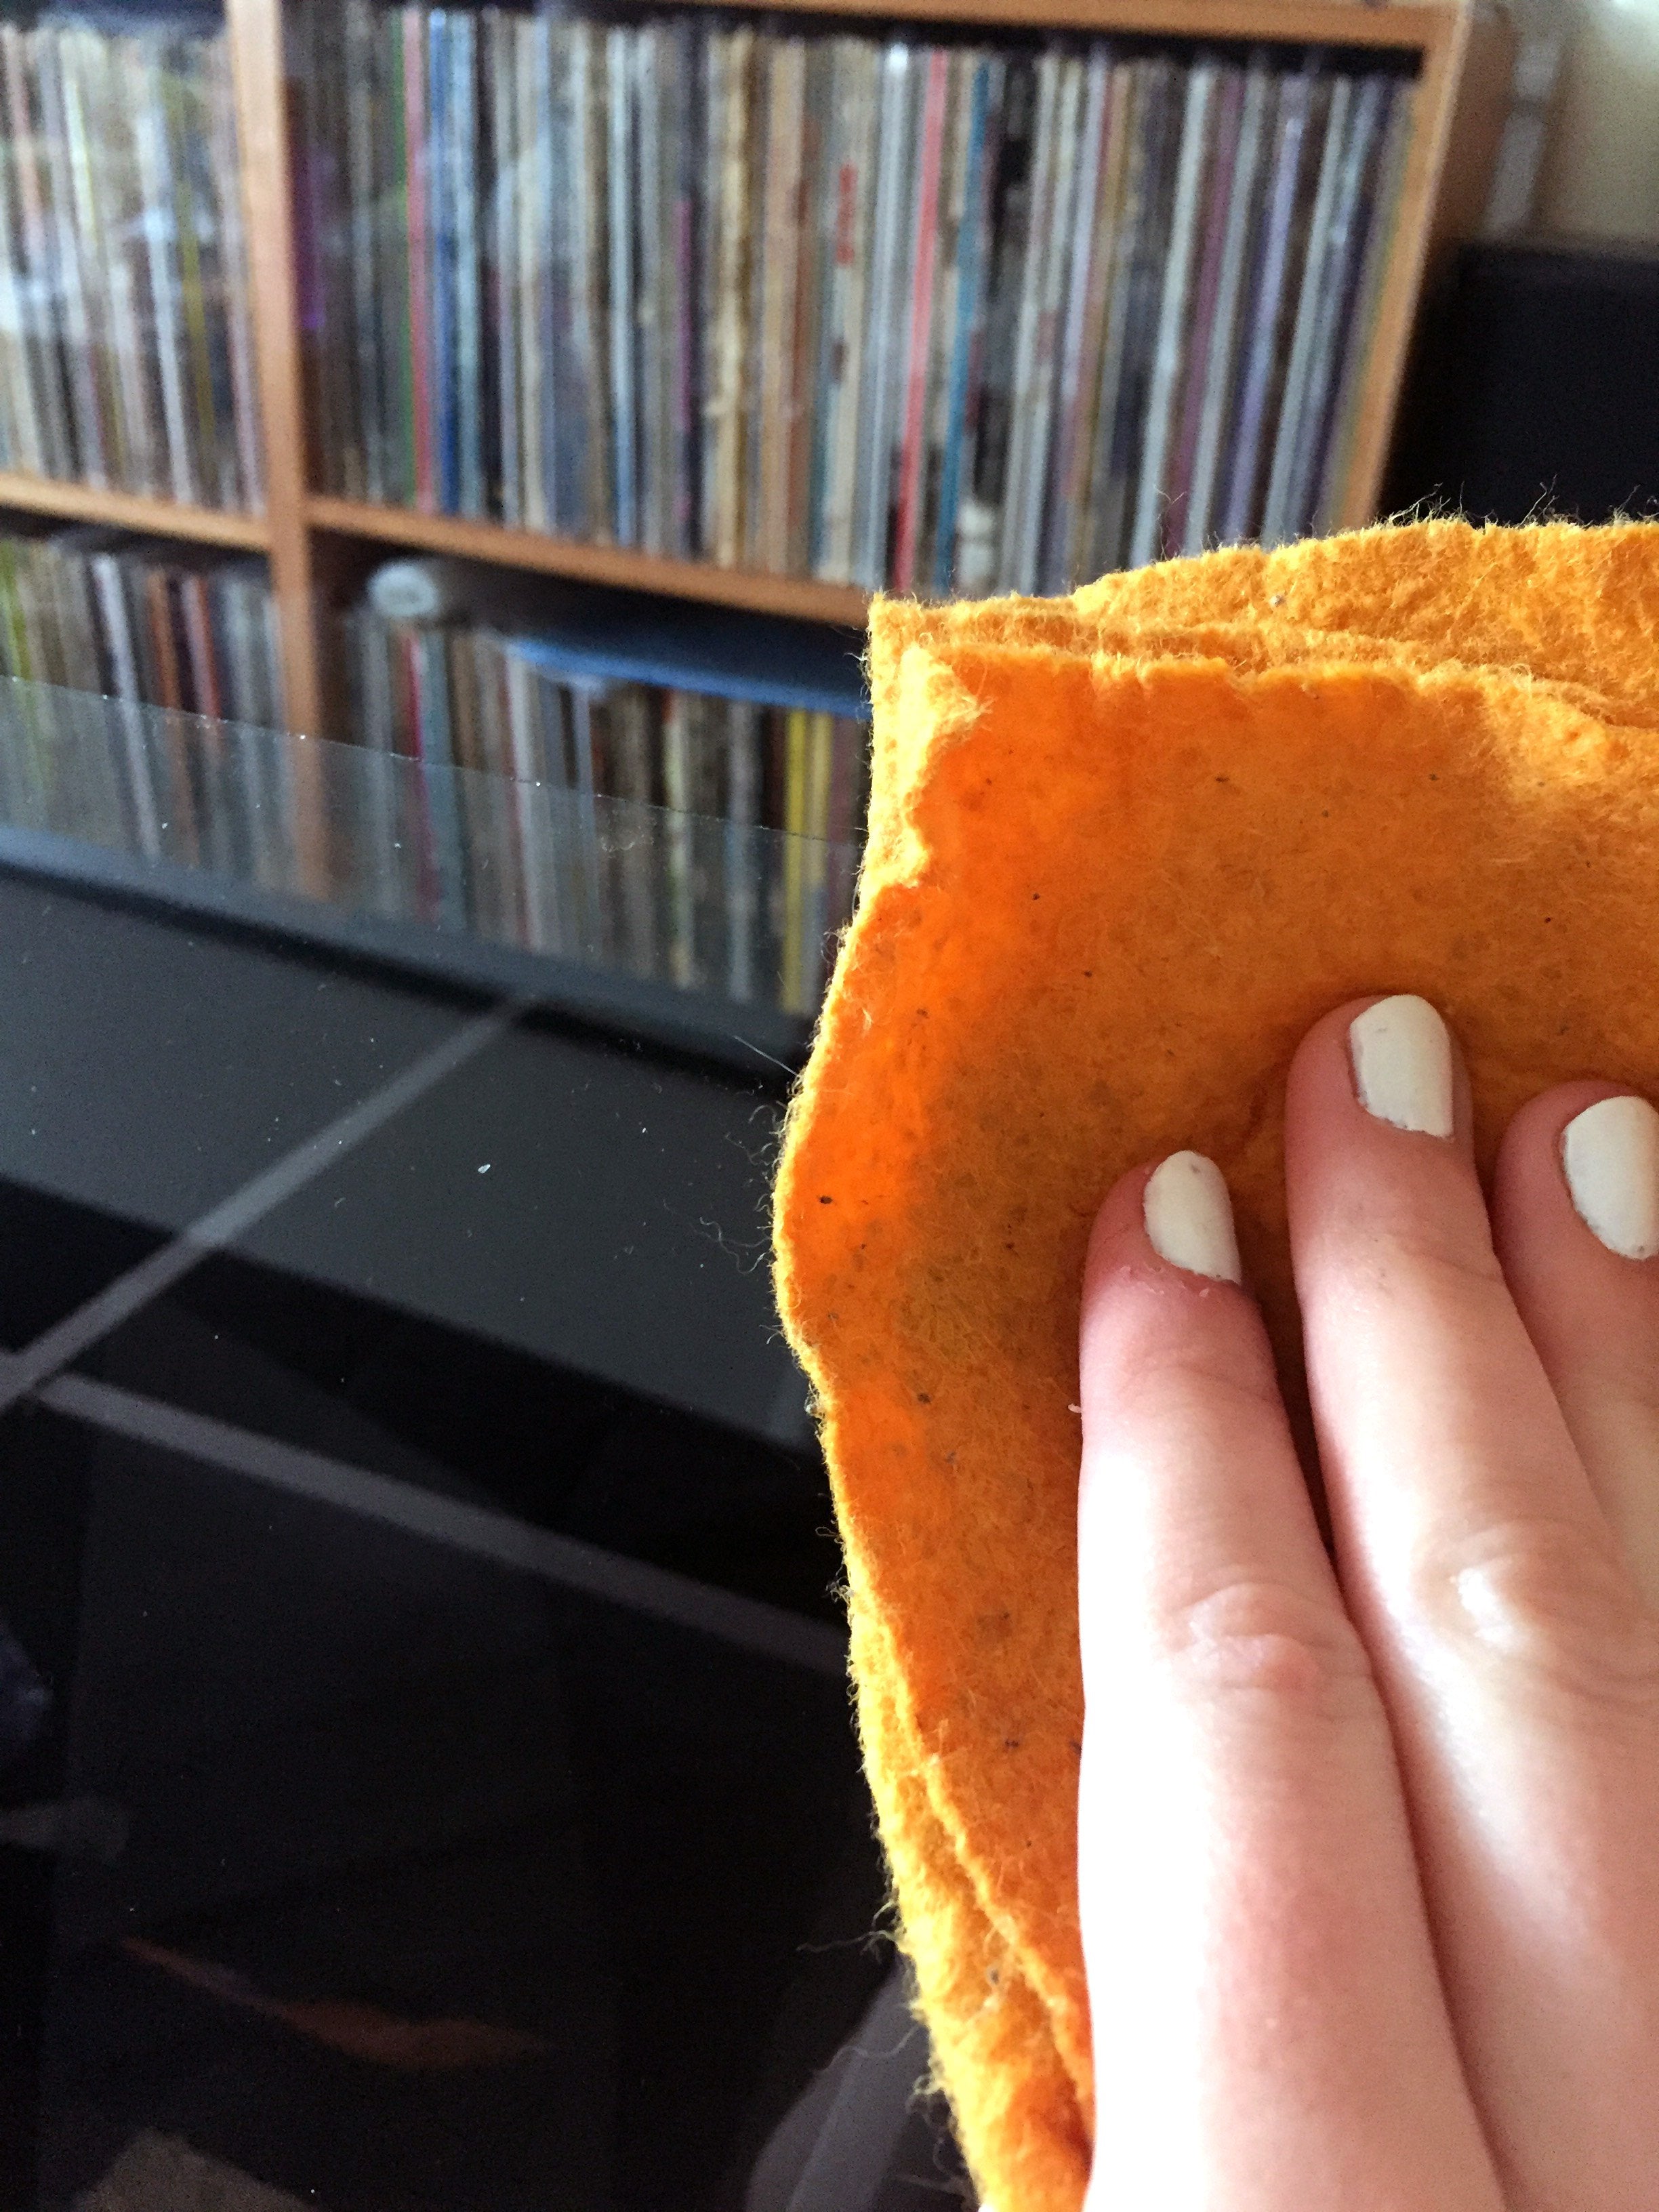
 Use rubbing alcohol to prep your surfaces. This will clean the area you’re about to stick with Velcro.
 Not cat food, sorry.
 Important: Don’t use rubbing alcohol on wood surfaces—it will mess up the finish. Just use a damp cloth in those cases. Fortunately, IKEA uses plastic on the Kallax’s surface, so we’re all good here.
Lay your shelf down on the floor, face up, and wipe away.

Use a cloth that’s not going to leave lil’ fuzzies behind. Microfiber is dope. Paper towels aren’t.
Let the surfaces dry.
 Prep is important.
 Time for Velcro! The Velcro you use should have a strong lock. The Command strips are great, because if you ever want to remove them from your shelf, they should come off with no harm.
Take two strips and lock them together. Repeat on the rest of the strips, making pairs.
 It makes a nice snapping noise when you push the two pieces together.
 Remove the adhesive backing on just one side of your Velcro pair and carefully adhere to the top right and left corners of the shelf. Half way down the shelf, adhere two more to the top corners of the bottom section.
 You are more than welcome to use more Velcro. I’m just on a budget.
 Once the Velcro is set on the shelf, remove the top-facing backings.
 There’s a lot of peeling in this tutorial.
 Ever-so-carefully, line up your plexi over the shelf, making sure the edges of the glass will align with the edges of the shelf once you press it down. Press it down. Push each corner firmly so that you don’t see any bubbles on the Velcro adhesive.

Repeat with the bottom section. Let everything set for at least five minutes.
 Give it time to fuse together, so it doesn’t immediately fall off when you prop the shelf back up.
 You did it!
Stand your shelf upright, and if it’s tall, like this one, you should anchor it to the wall.
 I like to leave some space for books and cute knick-knacks.
 Un-Velcro your new covers to fill the shelf with your vinyl collection. To re-attach the covers, just press the plexi firmly over the Velcro until you hear a nice “snap.” Whenever you want to listen to an album, just take the plexi off and set aside while you grab what you need. Easy!
Cat, foiled.
 She doesn't know what hit her.
 Looking for tips on vinyl record storage and display? Read more quality tips for your collection from Redfin.
Related Articles
Join the Club!
Join Now, Starting at $44Exclusive 15% Off for Teachers, Students, Military members, Healthcare professionals & First Responders - Get Verified!


